How To: Frequency Separation

Share on facebook
Share on twitter
Share on linkedin
Share on pinterest

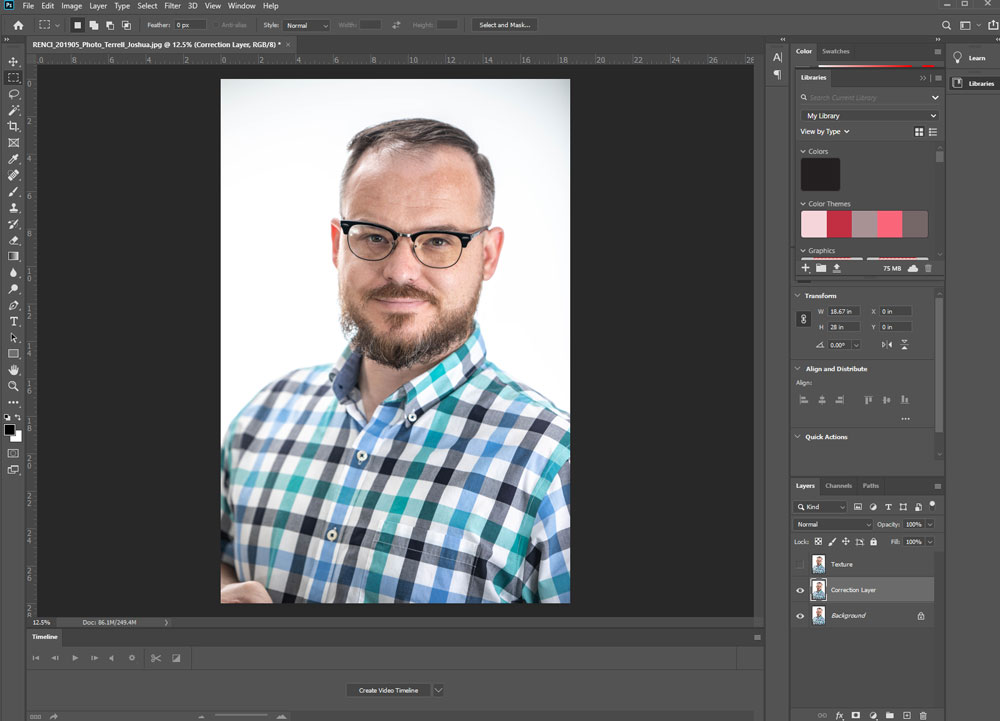
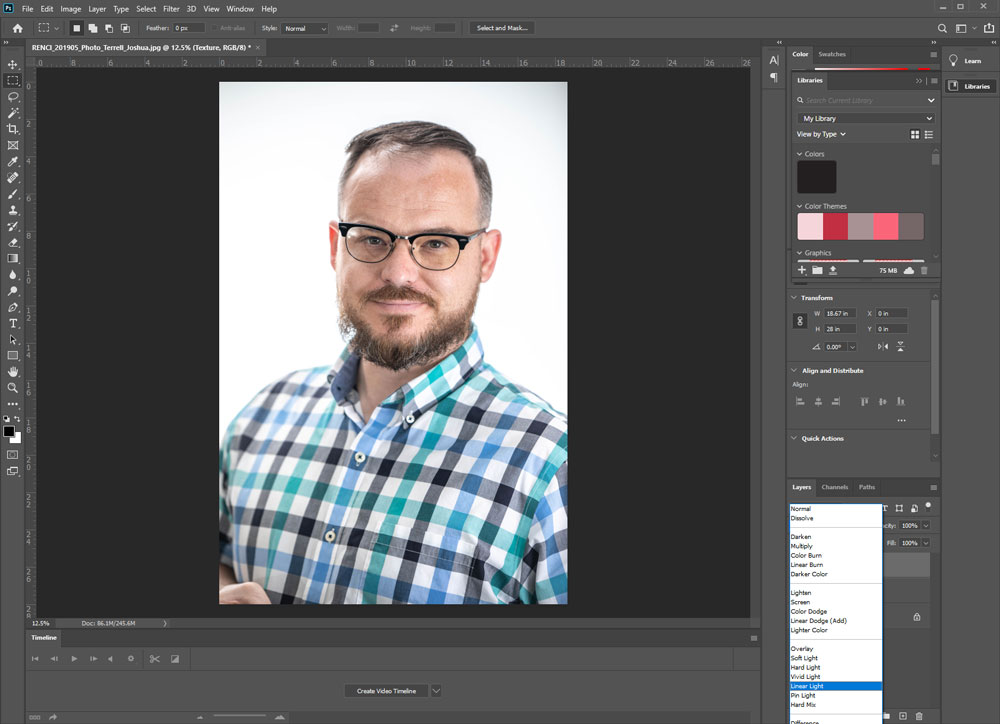
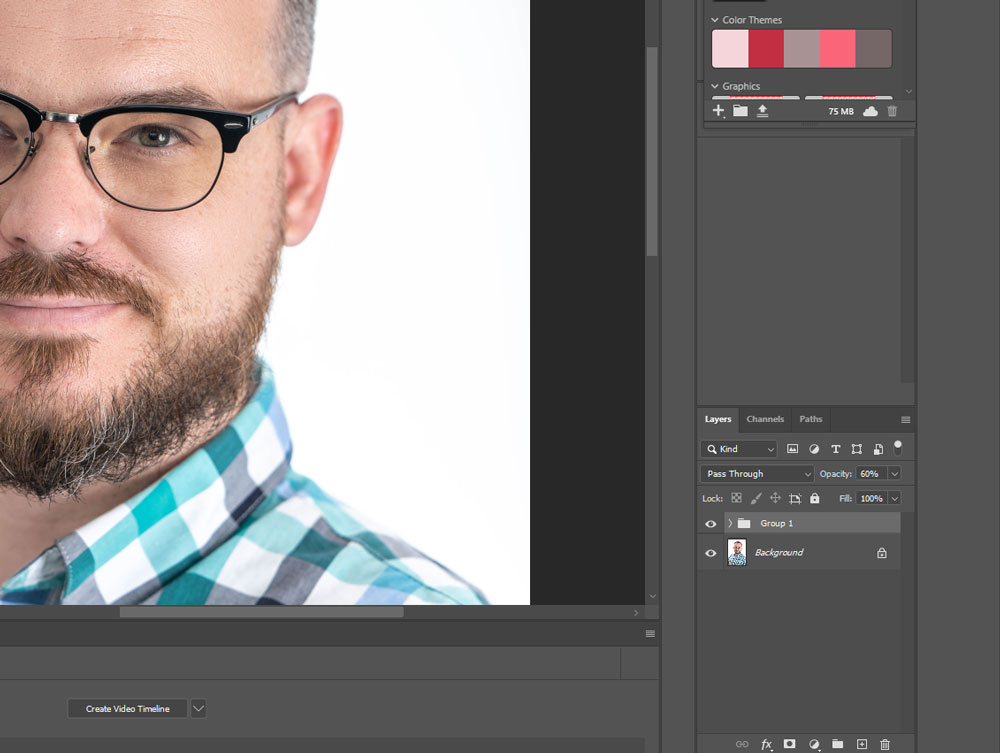
During the photography work that I do alongside my graphic design work, I am often in a position to take staff photos for a client when commissioned to build or update a company website. Not everyone can afford to bring in a makeup artist to prepare each staff member for this type of corporate photography, and they most definitely do not have the time to do so. This is where skin retouching is extremely helpful and can put the finishing touch on the job. The most beneficial skill in skin retouching is frequency separation.

Frequency separation allows you to remove skin blemishes while maintaining the natural skin texture. However, this can be quickly abused if used too heavily. In this tutorial, I will show you how to do this task but also lend some advice in preventing abusing this method of skin retouching.

Step 1:
Open the image in Adobe Photoshop and duplicate the image layer twice (Mac: CMD+J, Windows: CTRL+J). Name the top layer “Texture” and deselect the “eye” to make this layer not visible for now. Then name the second layer, “Correction layer”.

Step 2:
On the Correction layer, apply a Gaussian Blur (Filter > Blur > Gaussian) with just enough blur that begins to remove the texture from the skin in the photo. This will vary from photo to photo. So use caution and your discretion on this part. I used a setting of “5.2” in this case.

Step 3:
At this point, reselect the eye icon next to the “Texture” layer to make that layer visible again. Select the “Texture” layer. The witchcraft in mathematics has been done by smarter people than myself, so trust me on what I am about to tell you. With this layer selected, select Image > Apply from the top bar. This will trigger a pop-up window.

In this pop-up window, change the layer to the “correction layer.” Set the blending mode to “Subtract,” scale to “2”, and the offset to “128”. The math is good, and it works so that it will be right for every image with skin. Now, we have these numbers and settings sets, click “OK.” This won’t look good and may appear like a low pass filter image, but don’t worry. Proceed on.

Before we move on to the fun stuff on other layers, change the “Texture” layer’s blending mode in the layers tab to “Linear Light.” To keep things organized, put the Texture and Corrections layer into one “Group” folder by selecting both (click and hold shift to click both) and clicking the folder icon at the bottom of the Layers panel. Now we are set to do the skin retouching to fix those blemishes.

Step 4:
Select only the “Correction” layer in the group folder and select the “lasso” selection tool in the Tools panel. Set the feather to have a “soft” outlet so your area chosen won’t have hard borders when you finish making your corrections. I generally like to make the feather between 20px and 40px depending on the resolution of the original image.

Step 5:
Use the lasso tool to select an area on the subject’s skin that has a blemish that you wish to remove. These blemishes can be skin redness or just general blotchy skin. Personally, I would not use this method to correct acne because that means texture needs to be retouched, too (see the end of this tutorial). Once you have the area selected, use the Gaussian Blur function, from earlier steps, and use your discretion on the amount needed to blend the skin color/ blemish away. If you still have the “Texture” layer visible, you can see the result immediately. Continue to do this unless all the blemishes and skin redness is removed to your satisfaction.

Step 6:
As I mentioned earlier, frequency separation can be abused, and you may find that the skin is “too perfect,” which can look unnatural when compared to the original. Because we kept the original image at the bottom of the Layers panel and outside of the “Group” folder we prevent this abuse.

By selecting the whole “Group” folder and reducing the Opacity in the Layers panel, you can adjust to the point you feel it looks natural. This can vary from photo to photo, but I find that I generally apply between 40% to 60% opacity to the “Group” folder in most of my files. But you do what you think looks good in this step.

Step 7:
At this point, you should have successfully used frequency separation on your image. However, as I mentioned earlier, I would not use this on acne or similar textured skin imperfections. To address the acne, I would use the “Healing Brush” tool (Bandage icon) from the Tools Panel on the final exported image after you completed all frequency separation. After frequency separation, the redness should be reduced significantly in the final image anyway, and the healing brush tool will remove the unwanted texture.

Let me know how this works for you in the comment section below.

Contact